
Ok. First tutorial. Ever. We'll see how this goes.

This is the apron. I tried to make a pillowcase dress for my daughter and it failed miserably. I think the pillowcases were too thick. She said, "No! I wanted a fancy pillowcase dress!" I think I'll be making the dress out of something else, because even if I had not failed, it still would not have been...fancy. So. I'm not a fancy kind of girl, and this isn't a fancy kind of apron. But it's fun, I don't mind getting it dirty, and it is VERY functional.
I tried on the pillow case dress to see if it would fit around my hips and bum, and it did, but barely and not terribly comfortably. So I started fresh with two more pillowcases (and two more my color-style, as well) and cut the material up the back so that it tied in the back rather than being a slip-on. First I laid them on my surface (I don't have a good table or area, so I just used my living room floor carpet) and lined them up so that the inner layer would be sticking out of the bottom a bit. I laid right down on top of the pillowcases with the lower most edge at my knees and marked with a pen where my waist was. This was my measuring tape-less way to figure out how long I wanted it. Then I cut off the tops so they were even (the tops being the edges that were sewn) and stuck the inner one inside of the outer one.

Then I cut out what would have been arm holes for the pillowcase dress. I realized while I was...struggling into the dress that those arm holes were an awesome access point to my jeans pockets. So I decided to keep them.
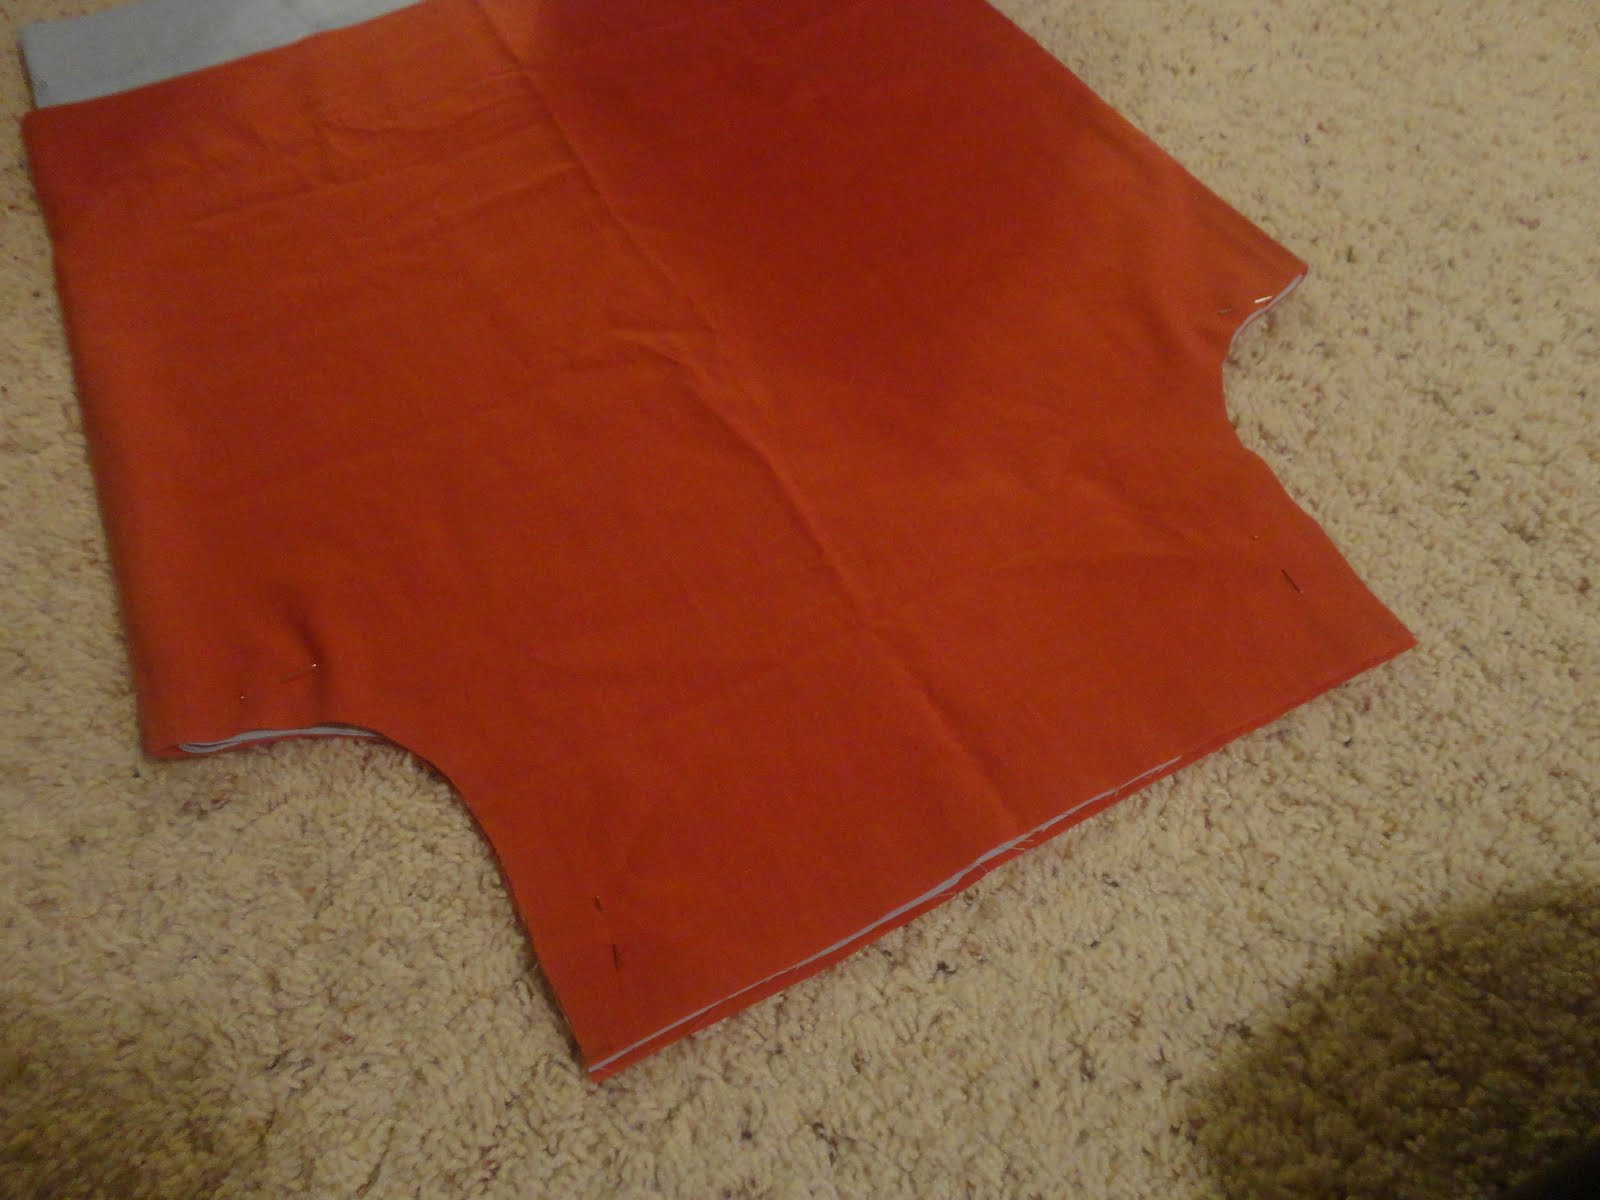
When I cut them out, I realized after I opened them up that I had PERFECT pocket shapes.

So I decided I'd like to have lined pockets, with the blue side facing out, and nothing fancy. I turned the pocket-to-be upside-down and pinned along the top to give the final product a nice, rounded feel.

I did that for both pockets. Then I hemmed all the way around the entire apron, one long hem-job.

Then I folded down the top of all three portions so that I'd have a place to put a belt or tie. I hadn't yet decided what I was going to do for that.


Then I pinned on two washcloths to act as small towels. I LOVE to wipe my hands on my thighs. I wanted some reinforced area where I could wipe, wipe, wipe, and even get a little friction-y scrubby action going if I needed. Towels seem to get more absorbent the wetter they are (up to an extent, of course), so I decided to just put some washcloths there.

The large size of the washcloths didn't leave much room for pockets, so I staggered them and added a little pen pocket out of the scraps of the blue material. I made a pocket out of the orange material that was pretty big and put it below the pockets you can see in this picture. It's as wide as the area between the washcloths and it goes to just below the line of the orange pillowcase. You can see in the last picture where it looks like the orange line dips down a bit. That's the bottom of the big pocket. It blends in a little, but I don't mind. I love it.

I pinned them all on, sewed them on, and then had to decide what to do about a belt. I ended up cutting the extra material from the tops of the pillowcases in the longest direction I could, in strips about an inch and a half wide. I folded the strips into thirds lengthwise, pinned them to the next strip all folded over and tucked in, saving the blue pieces for the ends, and sewed right down the middle with a zigzag stitch. I'm calling it the 'whatever belt'.

So there's the apron all laid out. I forgot to take a picture of it with the belt in it.
 For funsies I tried the apron on with my arms in the...well, the arm holes that became pocket-access spots. I was thinking if I was frying food or something, I could pop the apron from around my waist up to the top for some coverage. Seems like it'll do the trick. I'm very pleased with this apron. The pillowcases were purchased at Goodwill. I had some new washcloths, but in hindsight I think I'd use some that had been washed and dried a few times. That seems to increase absorbency. So it's going to be a few washes before my washcloths are in prime condition. But how awesome to make a 'fun'ctional apron out of re-purposed items. This apron took me about two and a half hours, including laying it out to take pictures. I'm definitely a novice. And I don't care too much about fancy, like I said. So if you're a better seamstress or care more about looks, your time will vary...but probably not too much.
No comments:
Post a Comment